Android pentesting requires a dedicated environment which provides access to a rooted android device and let us see how to setup easily by using free tools in Windows Operating System.
GENYMOTION
A Genymotion emulator is a virtual device which runs on your system and like a typical android emulator. It's an emulator based on Virtualbox. It can emulate a bunch of android devices and support a wide variety of API levels. Since the Virtualbox is cross platform compatible, it allows Genymotion to be used on any platform be it windows, Linux, Mac. Genymotion allows you to create custom device image as well as standard device image which is easy to download and get started. It’s an emulator using x86 architecture virtualization, making it much more efficient.
Some of the features of Genymotion which stands out are:
- Networking: emulates WiFi connection
- GPS: allows coordinate configuration
- Battery: allows configuring battery levels
- Display: full screen display
- Genymotion shell which allows you to interact with your VM using a command line.
- Performance: very fast compared to android emulator
Genymotion requires user registration to use its dashboard and for that first you need to create an account: link
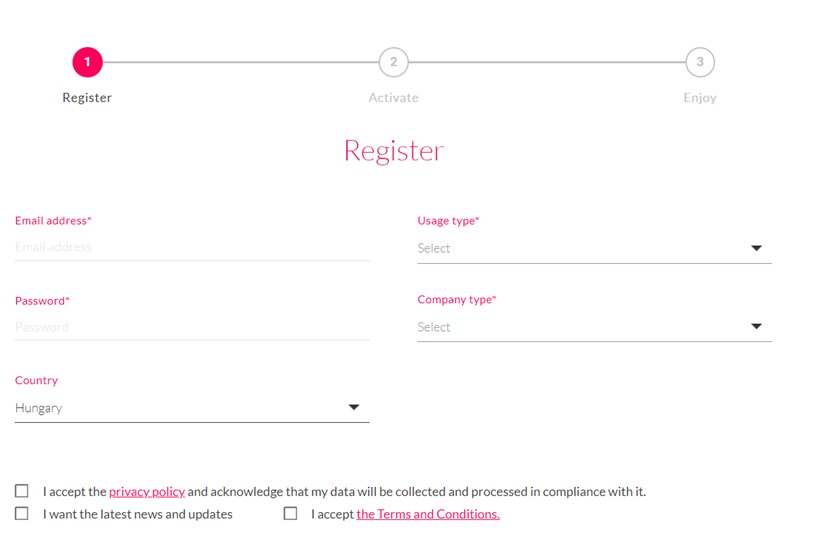
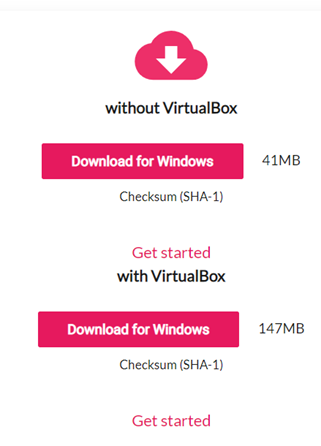
After completing your registration process download its installer from here and install it in your host computer.
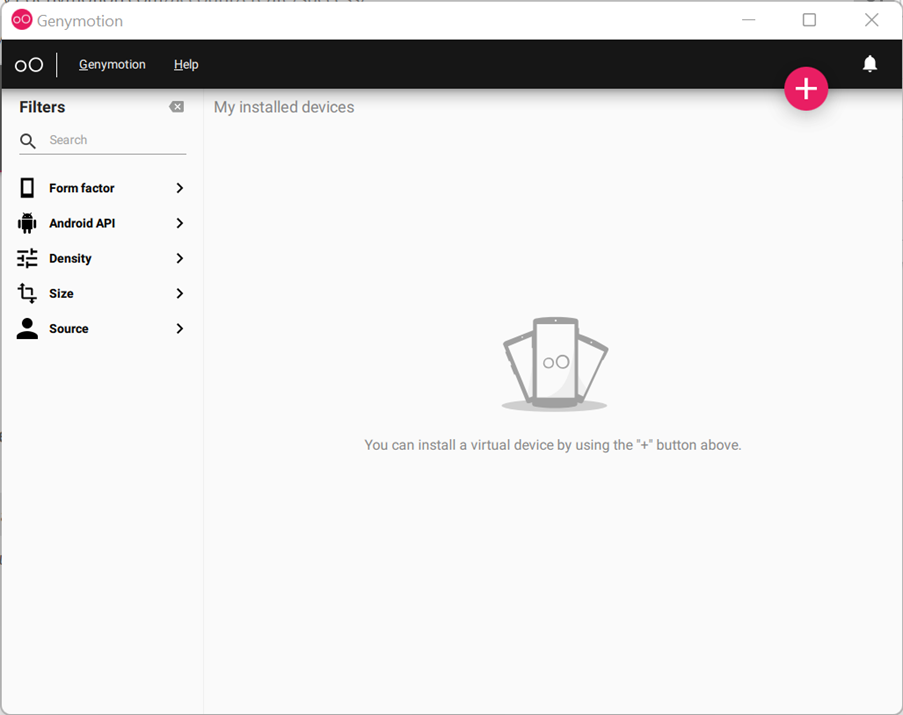
Once Genymotion is installed, you can sign in using your credentials specified in the registration process.
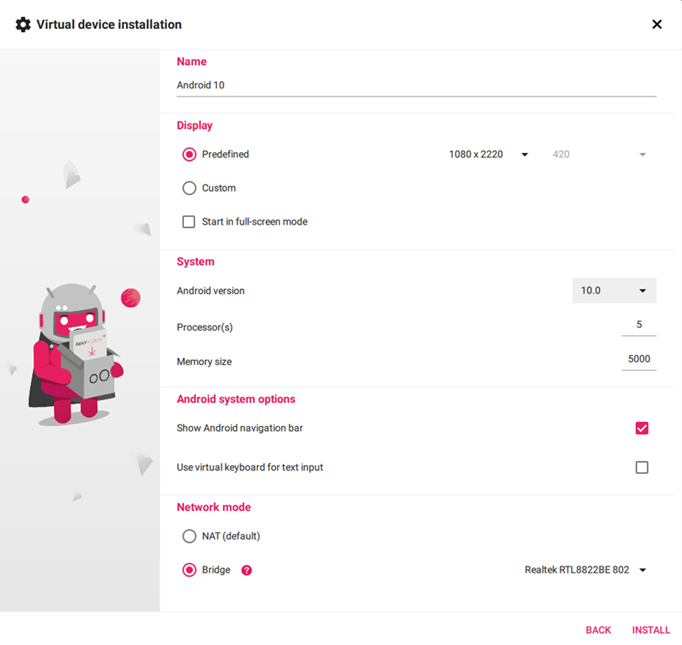
you can install a new device by clicking on plus icon at the top right corner and selecting your desired template and keep network mode Bridged
If some app contains ARM native code, then Genymotion will not be able to run the app as it consists of x86 (32-bit) architecture and will throw an error. You can avoid this problem by installing ARM translation library into emulated device: link
Note: At this point of time this library only supports up to android version 8.0 so download right package according to your emulated device’s specifications.
Once the device is started, select Wi-Fi from genymotion options and select Wi-Fi to enable network emulation.
select OpenGapps to install Google apps Or in the case of Archive Error download gapps file manually from their official site to your PC.
1. Export burp CA into der format
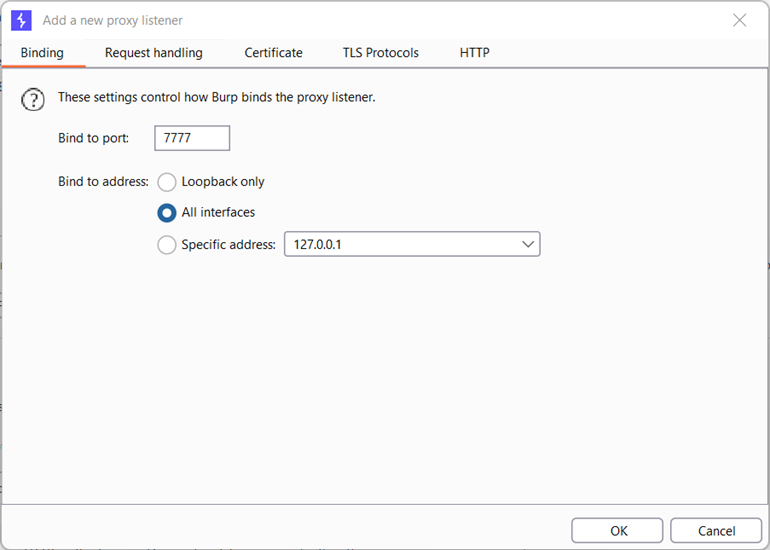
Open Burpsuite and navigate to Proxy -> Options. In proxy listeners section, click on add and in Binding section give the binding port and set bind to address to “all interfaces” and click ok.
goto proxy and export the certificate as shown
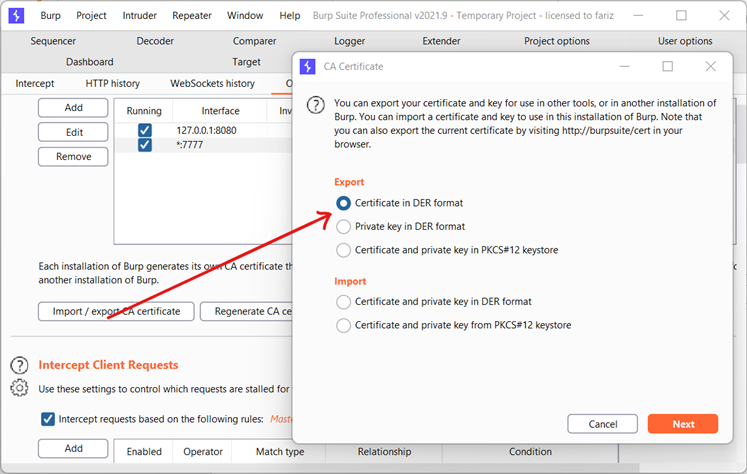
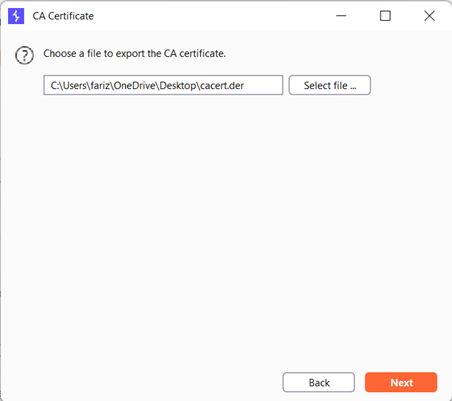
Make sure you save the CA certificate with extension .der as shown below
Traditional way of installing burp cert wont work in recent android versions.So we need to install the burp cert as system level cert to work.
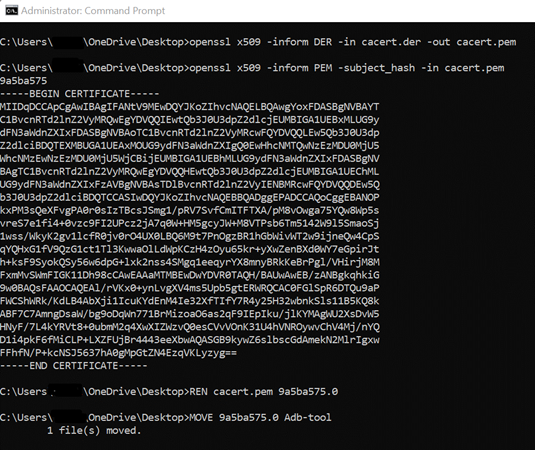
2. Use Openssl to convert DER to PEM and rename to <cert-hash>.0
You can download openssl for windows from here
# Convert certificate format from DER to PEM $- openssl x509 -inform DER -in cacert.der -out cacert.pem# #Display the "hash" of the certificate subject name $- openssl x509 -inform PEM -subject_hash -in cacert.pem # Rename to.0 $- Ren cacert.pem 9a5ba575.0 # Move cert.pem from existing destination to your adb-tool folder $- MOVE 9a5ba575.0 adb-tool
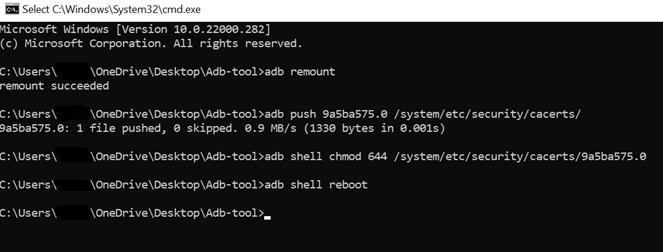
2. Move certificate in emulated device using adb
You can download adb-tools from here
# Change /system partition into writable mode with remount
$-  adb remount

# Transfer certificate
$-  adb push 9a5ba575.0 /system/etc/security/cacerts/

# Change its permissions
$-  adb shell chmod 644 /system/etc/security/cacerts/9a5ba575.0

# Reboot to let changes occur
$-  adb shell reboot
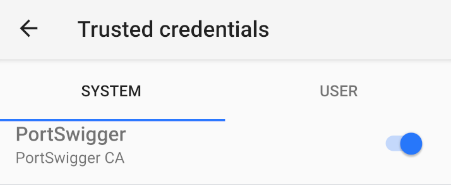
Now your certificate should be installed as a system-trusted CA certificate which you can confirm by navigating:
Settings →Security & Location → Encryption & credentials → Trusted Credentials
In Android device, Go to Settings → Network & Internet → WiFi and then Click on gear icon next to AndroidWifi. Now, Click on Edit button → Advanced Options → Proxy → Manual.
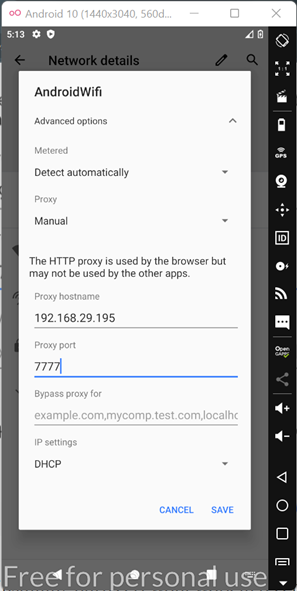
Add your system ip address in proxy hostname and bind port as port number and Save.
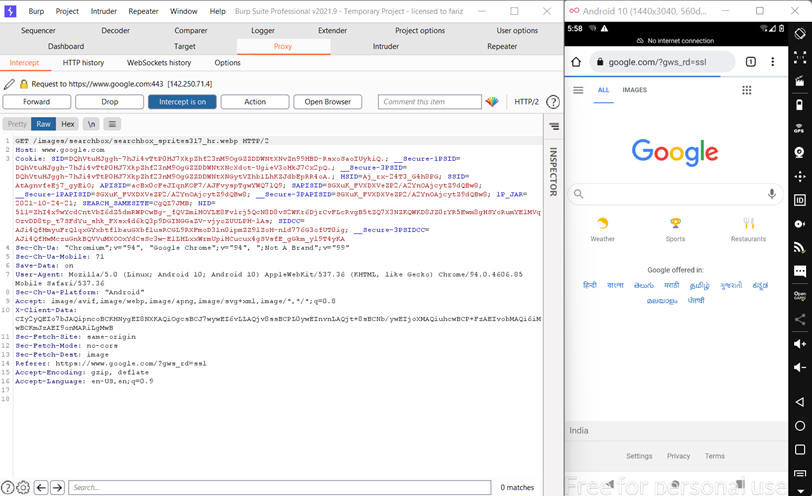
As you can see the burp suite is now completely connected with the Android device in the genymotion.
Introduction to Mobile Application Penetration Testing - Part 1
Introduction to Mobile Application Penetration Testing - Part 2